Not long ago I had to do a really simple project (Web and Mobile) -our focus is web in this article- that its only function was to modify some admin settings in our main application database. We had already an Odata Service running so it made sense to use a DevExtreme MultiChannel Application. As stated in the documentation, using the project template wizard you can create both a multi-channel solution and generate views for the entities from the specified OData service. So I was up and running in no time.
My issue started when I decided to deploy my web (desktop) channel to Azure. Looking for the answer I came across this ticket from DevExpress, it pointed me in the right direction but I still spent a decent amount of time until I finally made it work. A few days back someone in our facebook group had the same exactly question and then this article was born.
Lets enumerate the steps required to take a DevExtreme MultiChannel Application from new project to running in Azure:
- File -> New Project
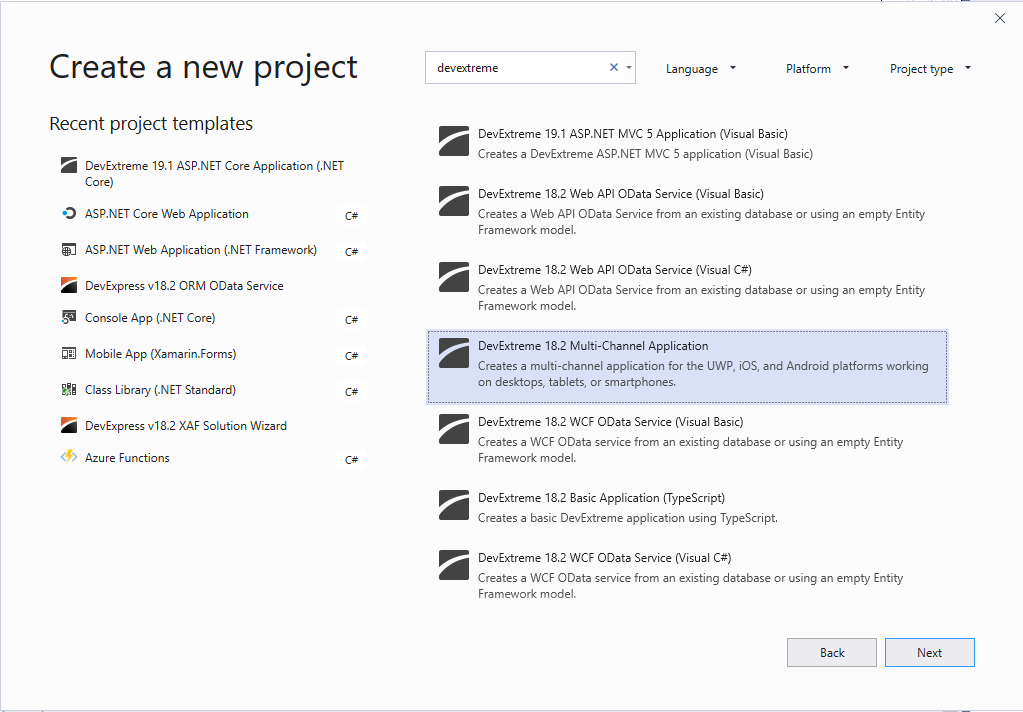
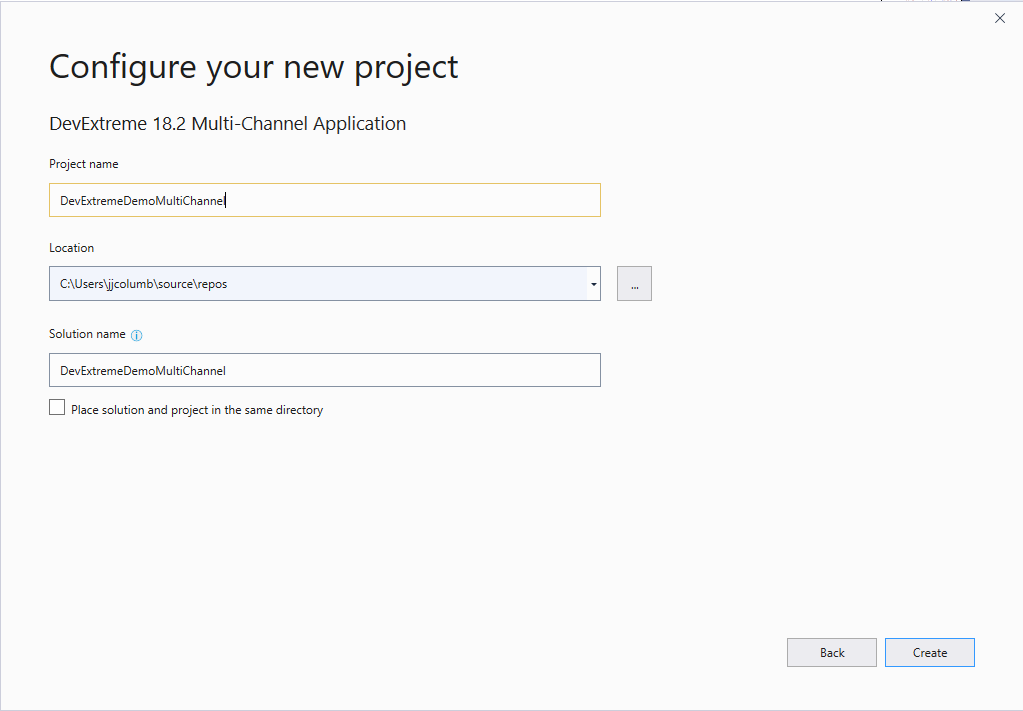
2. Name your Project
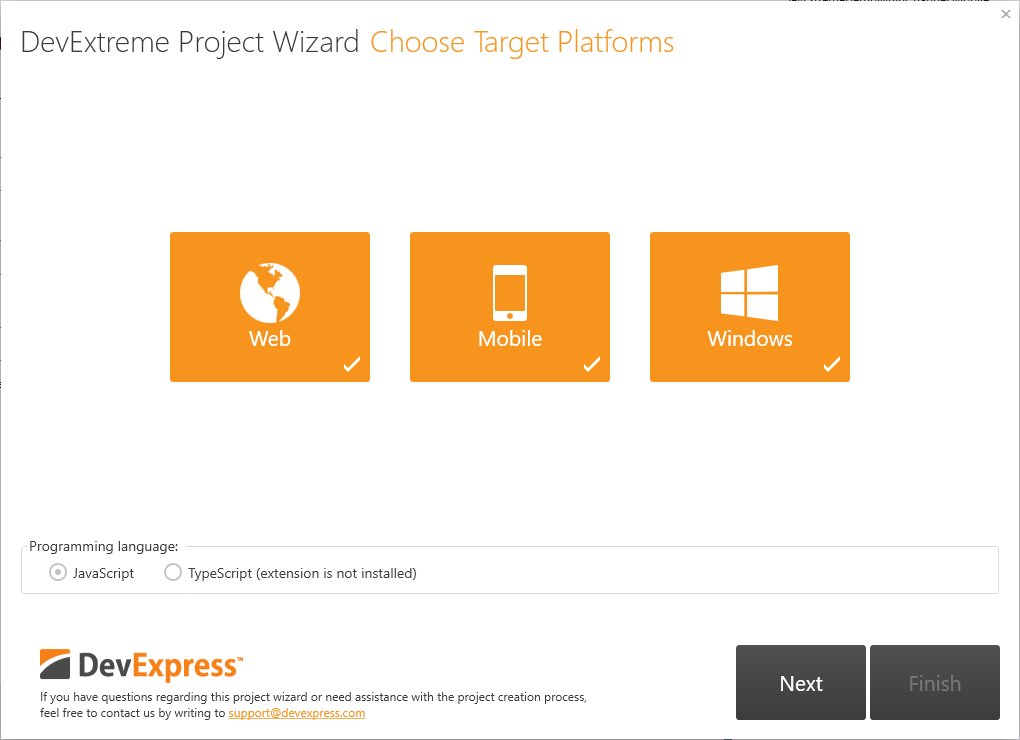
3. Choose your Target Platforms
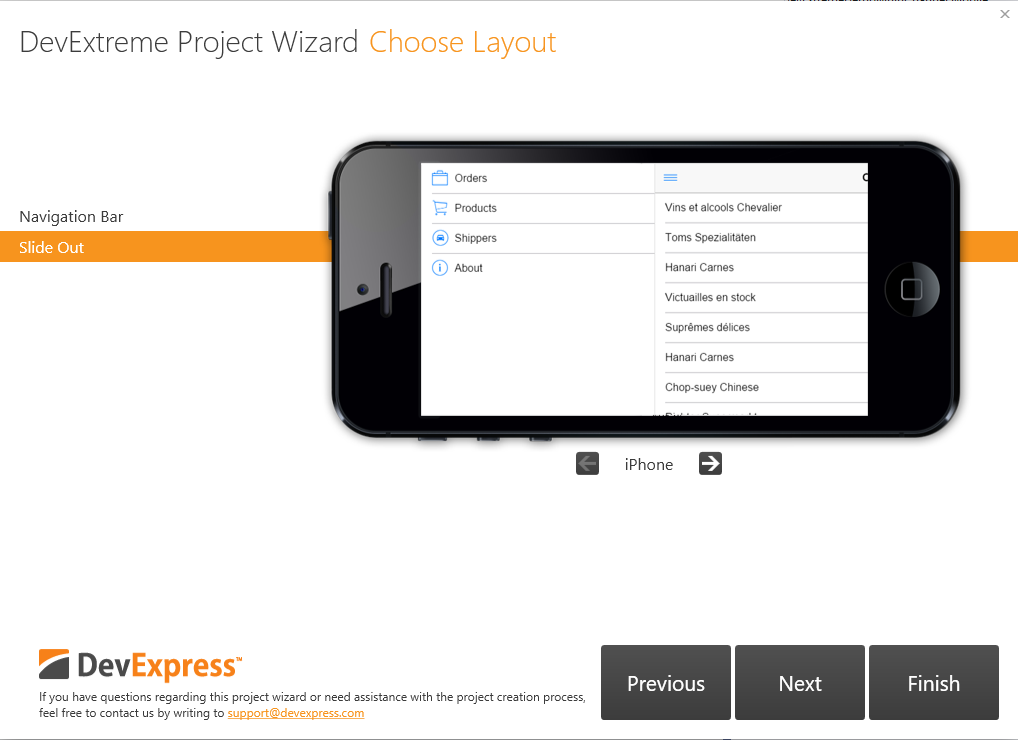
4. Choose Layout
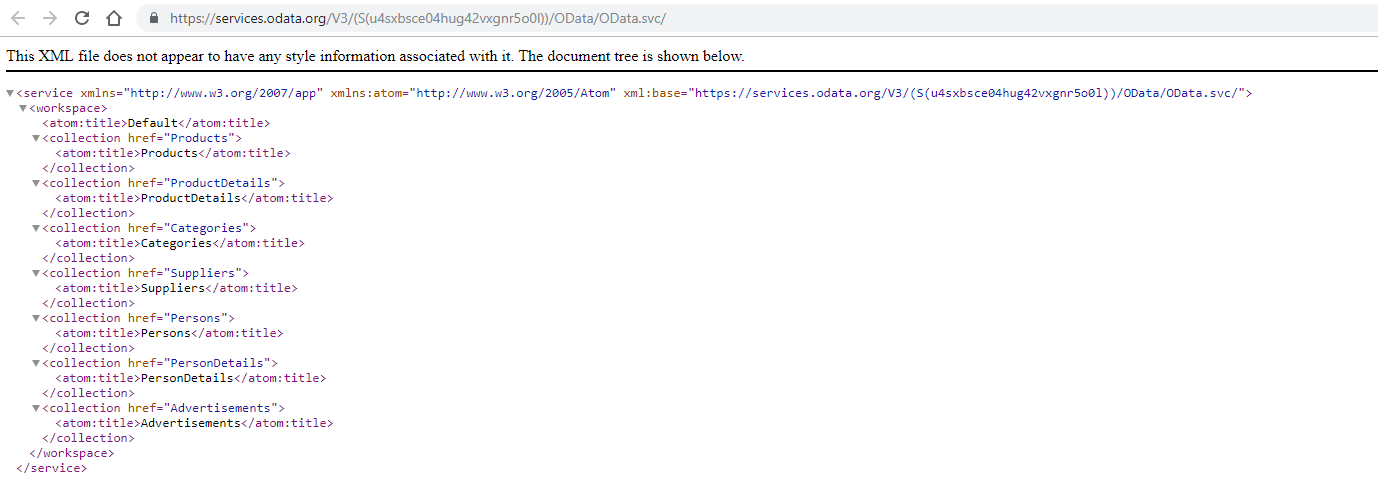
5. I used a sample Odata Service in this demo. You can check it here.
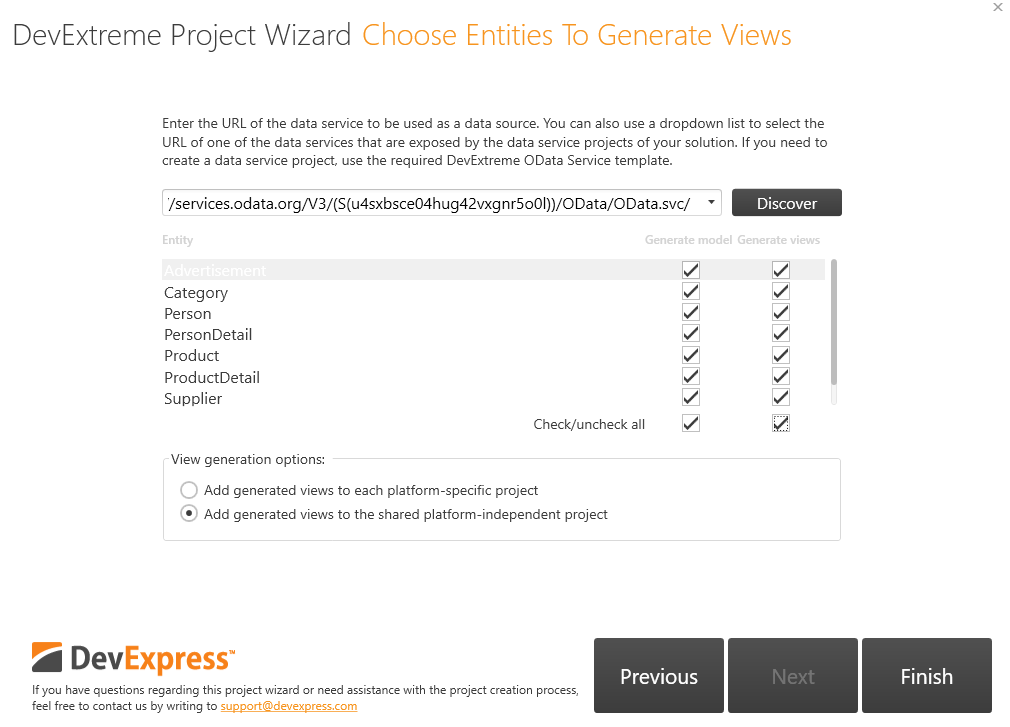
6. Select Add generated views to the shared platform-independent project.
 7. Wait for the project to be created. Select your desktop channel as the startup project, run it and voila! Pretty neat right?
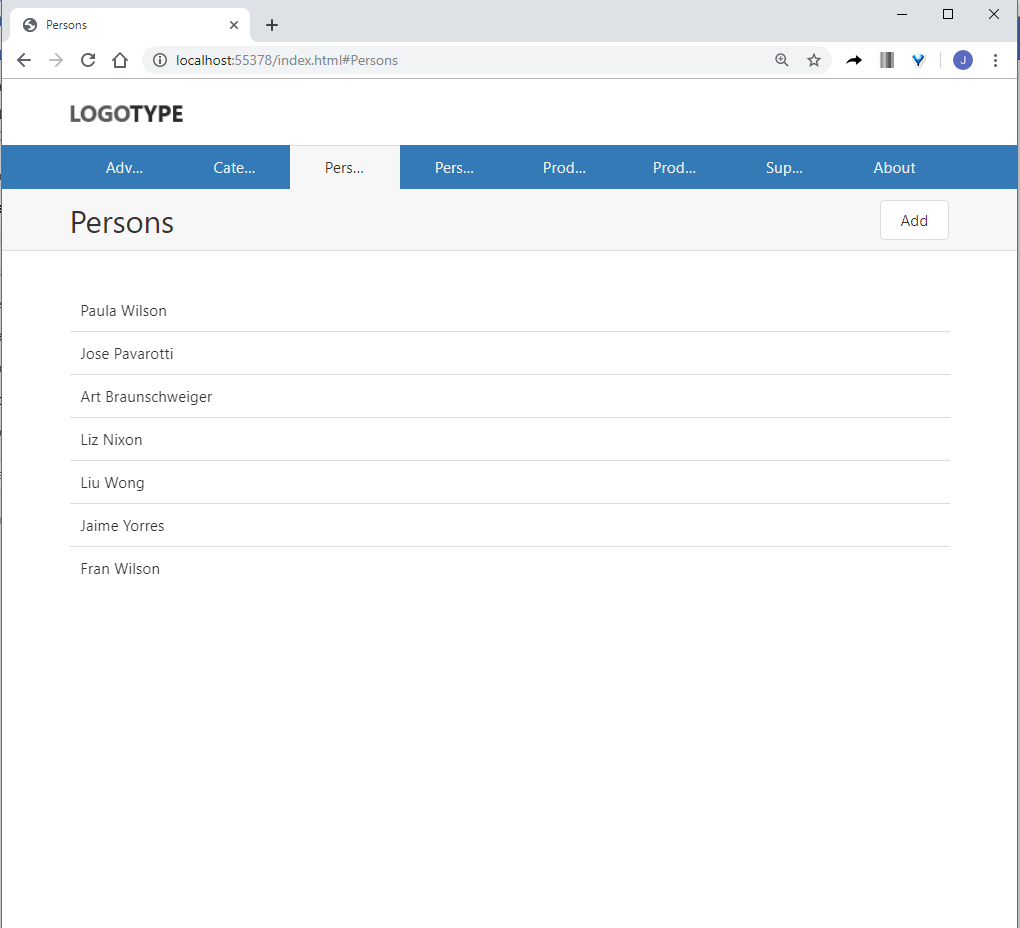
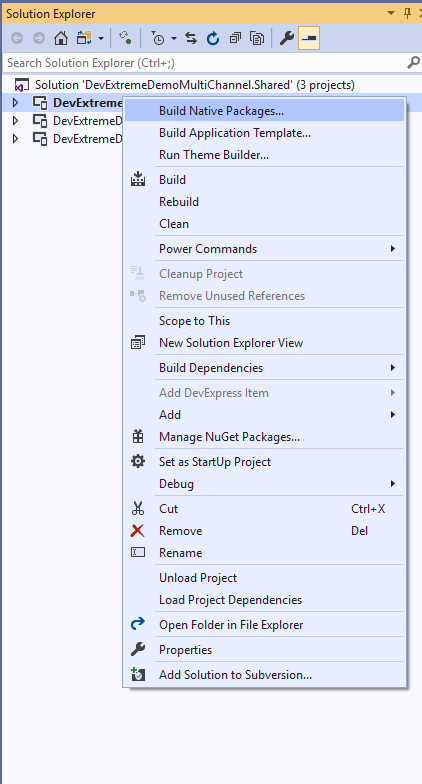
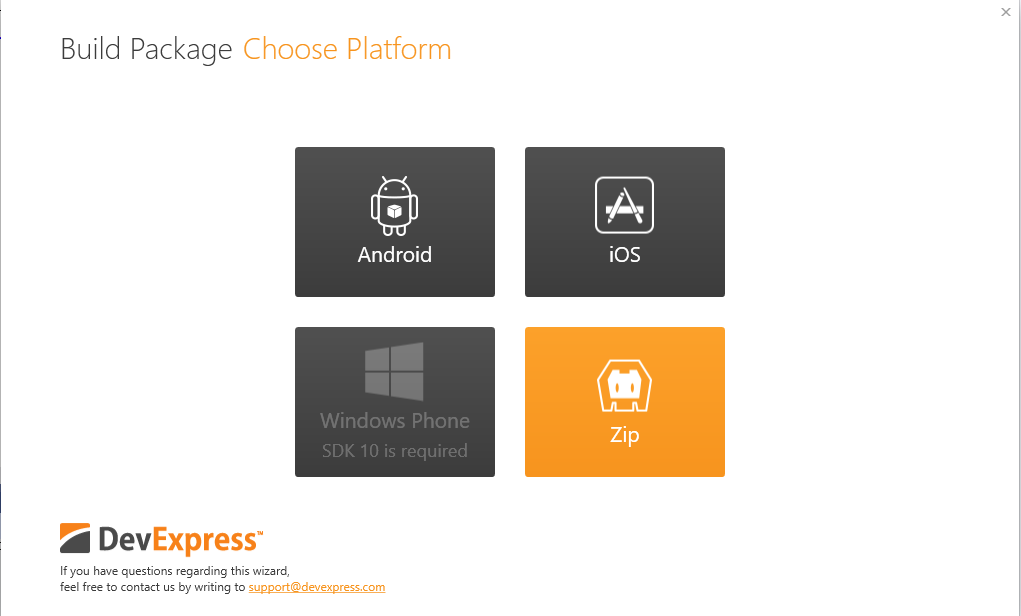
8. OK time to deploy. Now it is when things get tricky. When you right click your project, where is the web deploy (publish) option? Well there isn’t one. But I am so use to it, what do I do now? It is actually really simple, don’t panic. Just rick click an Build Natives Packages.
9. Select the zip option
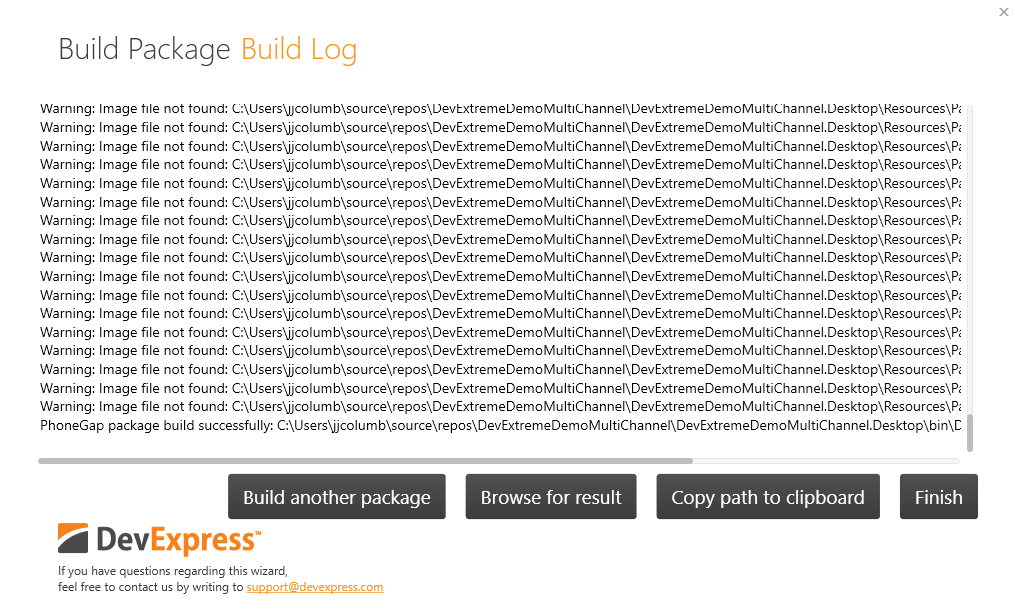
10. When it finished just browse for results to take a look at the folder content (you need to unzip it of course).
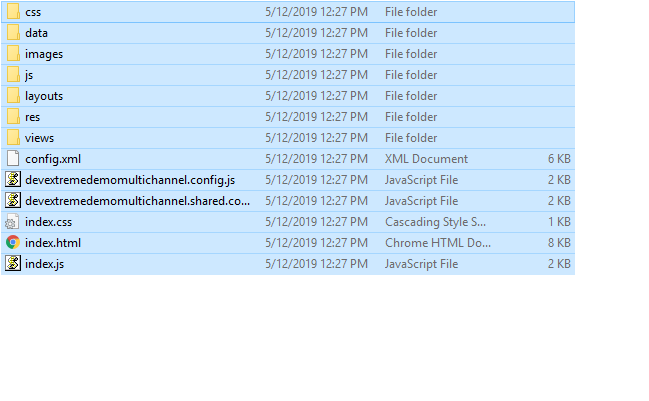
11. And here you go, are we done then? Well almost
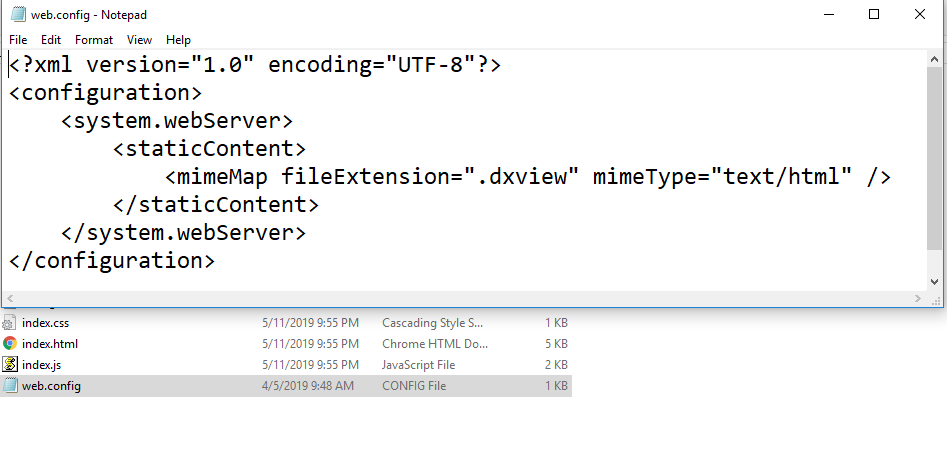
12. Create a web.config file and make sure your it has myme types .dxview to text/html.
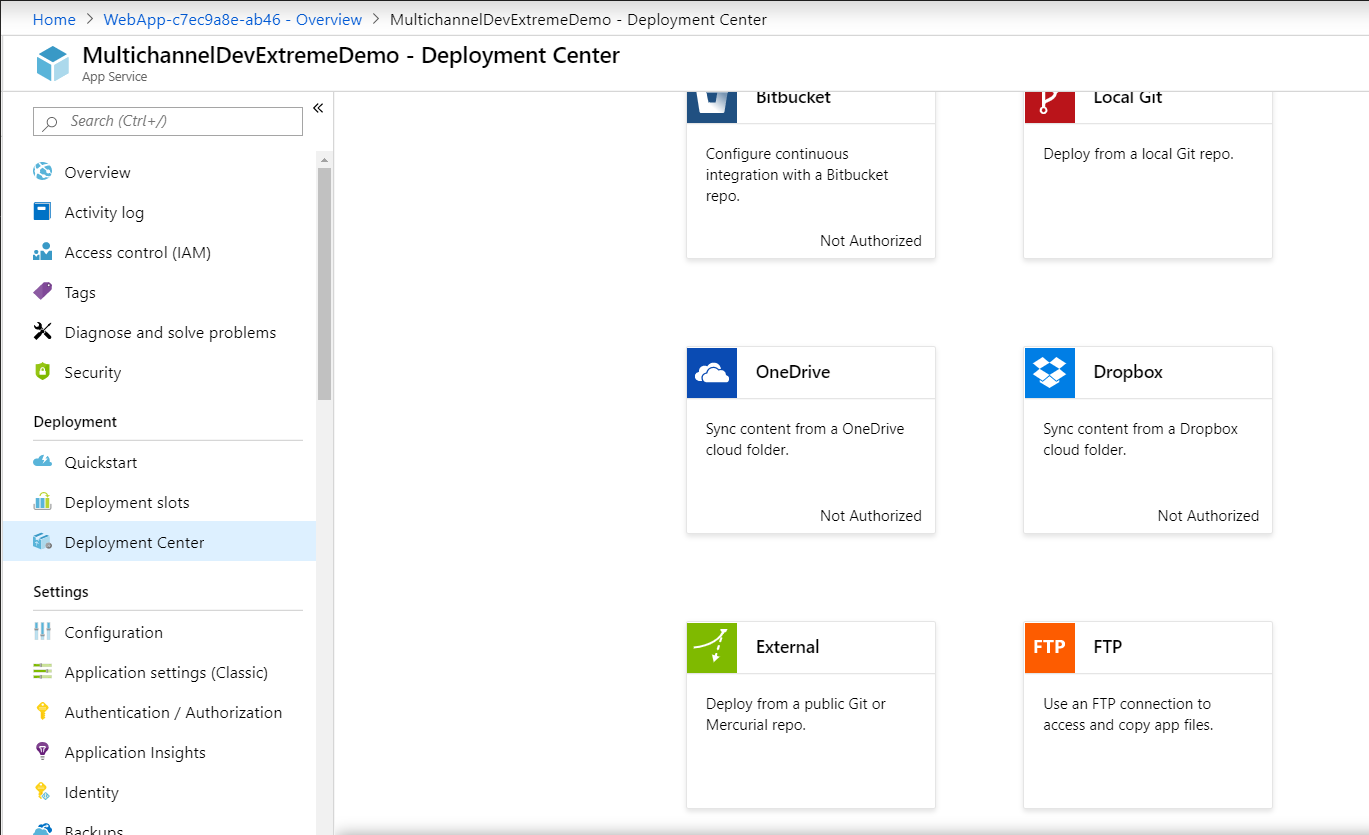
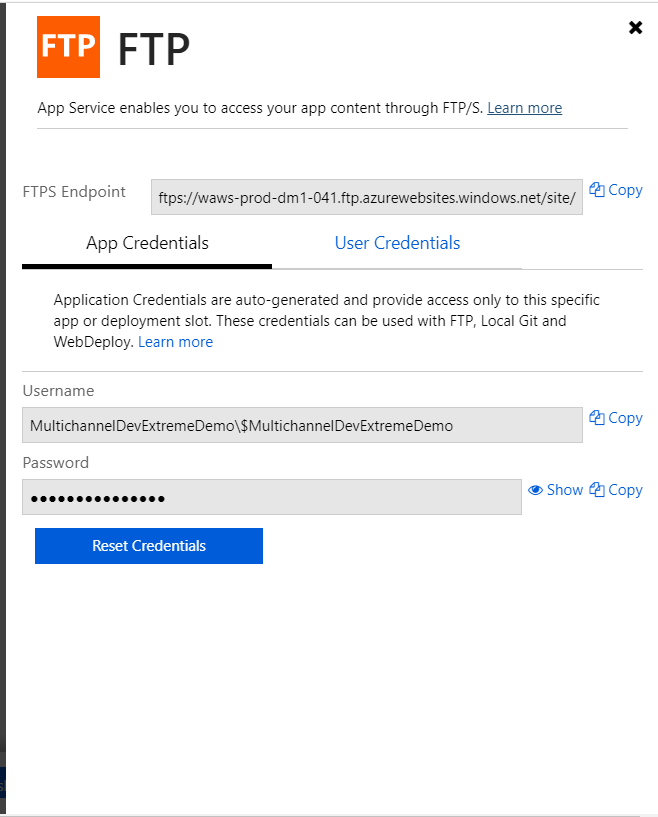
13. Now we are ready! Create you App Service in the portal and go to the deployment center. Select FTP to get your credentials and using FileZilla or any other ftp client upload all your files.
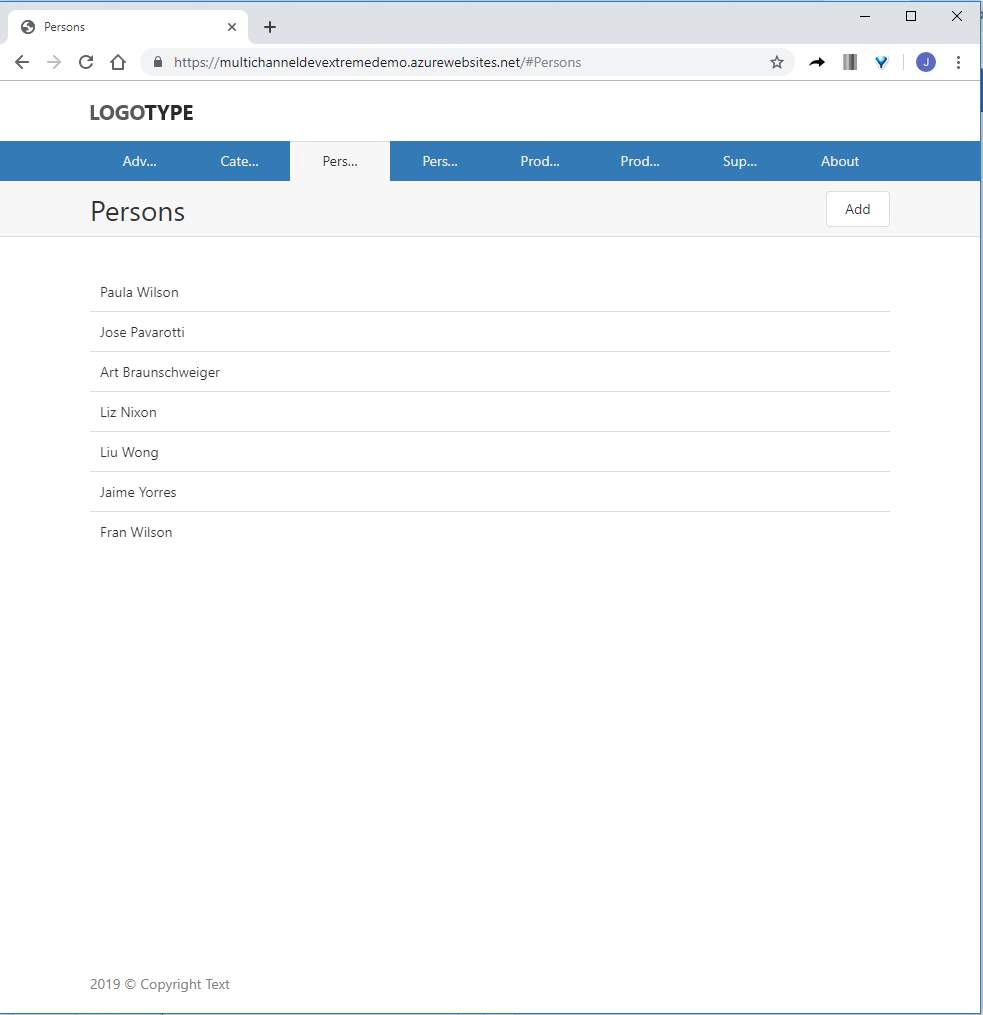
14. Check your app URL. It is a beautiful sight to behold.
And that is all. Hope you guys find it helpful. Until next time. Keep Shipping!